Collaborative NAS
To make working together in such a large team possible, we use a NAS to share files and resources. To connect to this NAS you need to use SMB to mount the drive on your computer.
Windows SMB Connection
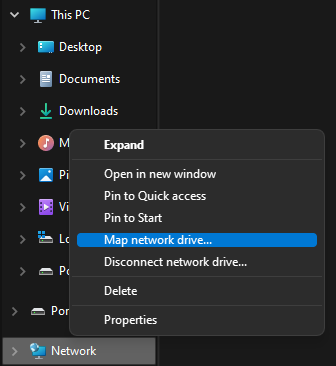
In file explorer, right click "Network" in the sidebar, then click "Map network drive".
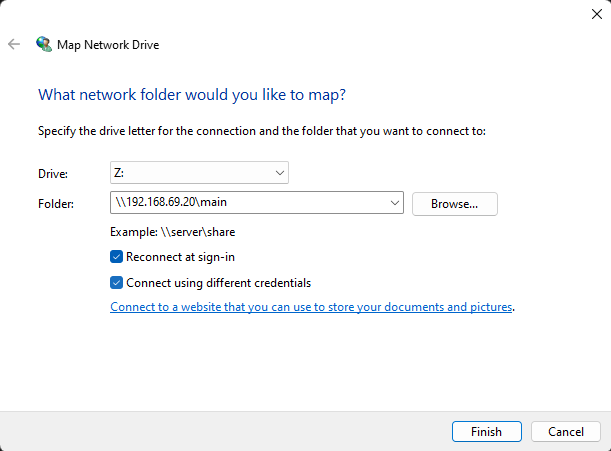
Now enter in the server SMB uri "\\192.168.69.20\main", the drive letter doesn't matter, select "Connect using different credentials".
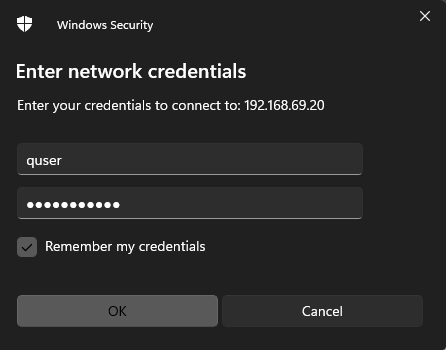
Enter in these credentials
| Username | quser |
| Password | noquestions |
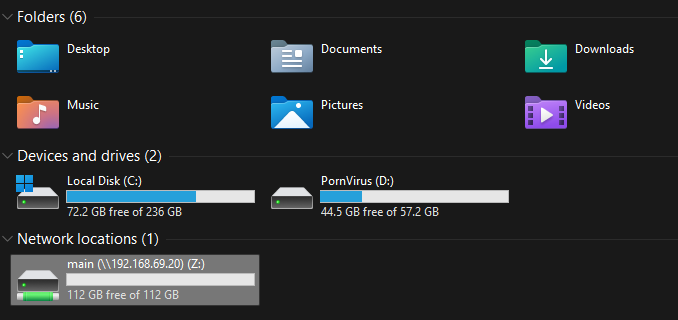
Done! You should now see the drive show up in file-explorer, and it should act like you have another drive plugged into your computer.
MacOS SMB Connection
Disaster! Backup NAS
In the case of a catastrophic failure, we have hot-spare ready to go which should be a 1-1 copy of the primary server. This backup server is using hard-drives, making for a much less responsive editing experience, but it will work.
To connect to the backup server, complete the exact same steps as for the primary NAS, but replace the IP "192.168.69.20" with the backup NAS's IP "192.168.69.19".